 |
| Waterproofing a bathroom |
Building or renovating a house takes alot of energy and money so making sure the build or renovation is being completed to the highest possible standard should be a priority as expenses may pile up when the preparation or planning stage isn’t perfectly executed.
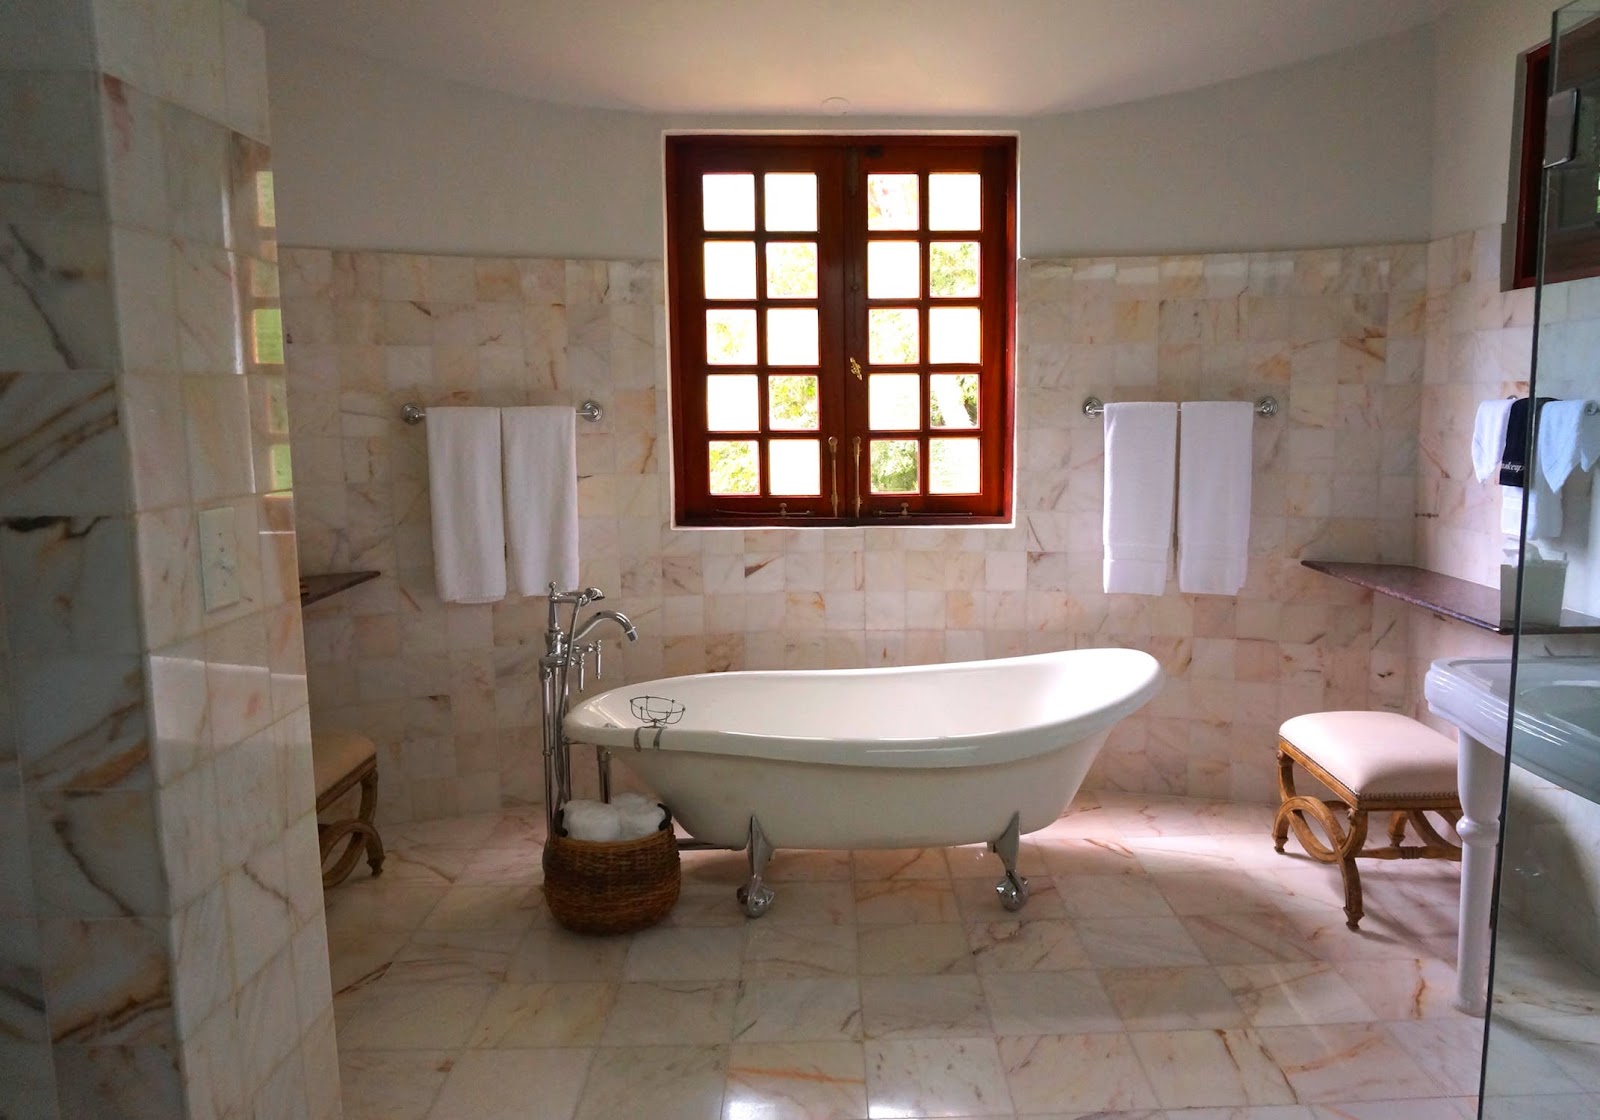
One of the most important things to consider in a house is waterproofing any type of wet area, such as the bathroom.
Waterproofing, by all means, should be left in the hands of professionals to achieve the best results so this article is aimed as owner builders or astute renovators.
One of the first things a waterproofer will advise is choosing top-quality waterproofing products is crucial in any waterproofing project.
Below are the steps to consider when waterproofing a bathroom
Prepare materials and choose area to work on
Before anything else, make sure to do lots of research around the waterproofing products to use and what to purchase before hand.
Carefully measure your bathroom or shower area and determine what waterproofing sets to use for a safe and efficient installation.
 |
| Waterproofing a bathroom |
Inspect all surfaces
Checking the walls, floors, and other surfaces inside the bathroom is done prior to installation.
Testing the bonding strength of the waterproofing membranes is also done by applying a small test strip first on the surface. Aside from that, primers are sprayed carefully onto the substrate and kept from dust and moisture. After inspecting, keep the work area clean, dry and grease-free.
Corners first
Start out by cutting the adhesive membranes in small pieces and apply to all corners. Using a squeegee or spatula, apply pressure and remove excess air. This will make the corners adhere correctly to the surface.
Tape all corners and edges
With a sealing tape, cover this on all edges and corners of the bathroom. Again, remove excess air pockets to ensure adherence. Do this with care so that the sealing membrane will not be damaged.
Remember to put the membranes from top to bottom and make it overlap with its corner sealing tape. Removing the excess air pockets will also make it stick well to the surface. If there are waterproofing membranes that need some repair or touch up, a corner tape may be placed beneath the entire strip. Then secure it by overlapping the next sealing membrane on top of the tape.
Apply membranes on floor
Once the walls are done, it’s time to apply the membranes on the bathroom or shower floor. See to it that the waterproofing membranes cover the shower drain completely and it will overlap between the sealing membranes. Make a cutout directly on the shower drain to open the channel.
It’s time to start tiling
You are now finished waterproofing your renovated or newly constructed bathroom so putting the tiles on the membrane is the final step.
A flexible tile adhesive is usually recommended as it easily sticks on to the membrane.
 |
| Bathroom Renovation - Waterproofing |
Comments
Post a Comment